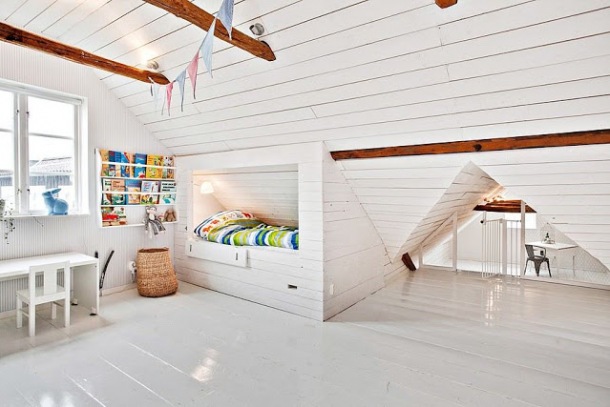
 Whoever wants to process profiled wood perfectly and quickly, should get some special tools. Then it's easier.
Secure, Even with the standard equipment from your Hobby workshop, you can get an acceptable wall cladding with profiled wood. But you know yourself: The higher the quality the material, that you process, the more annoying are small errors such as. unclean saw cuts, edges of different widths, bad connection joints. An attic conversion means a considerable amount of work – and why should you make it harder than absolutely necessary?
So that you can lay the selected profile boards quickly and easily, you should get a cap- and get a miter saw, a good electric tacker, whose nose extends into the depth of the profile groove, and a shadow joint saw (as an attachment to the angle grinder). How and for what the individual tools are used, you can see on our photos on the right. Careful preparation of the substrate with a straightedge and spirit level is the other must for a perfect result. Only when all boards and slats are aligned, on which the profile boards are stapled, you can be satisfied with your work.
Make the basic framework for the knee stick from planed roof battens. Angle everything well, Pierce the battens, then dowel.
The upper stop and the upright support battens are made from pressure-impregnated boards, which are aligned exactly perpendicular. To compensate for differences in level in the rafters, auxiliary battens can also be installed under the bevels. Screw tight! The Kapp is a good aid for cutting the scaffolding battens and profile boards- and miter saw. Borrow if necessary! Check again and again with a straight straightedge, whether the substructure is aligned. Compensate for differences in level with wooden wedges. After unpacking, the profile boards should be left open for a few days at room temperature, before starting the laying work. With the chop saw you can cut the profile boards to the desired or. Cut the required lengths exactly at a right angle. The feather down, the groove upwards, the first profile boards are aligned according to the spirit level and stapled to the battens.
El The staple nose must be shaped like this, so that you can get into the profile groove. Butt joints must lie on a slat.
At the transition from the jamb to the slope you have to saw off some of the tongue of the upper board, so that the connection is exactly right. With a long profile board you check from time to time, whether the areas to the left and right of the window opening were laid parallel. All structural connection elements, such as the beams below the false ceiling, must be lined at the target height. The profile boards are also precisely adapted, that come into contact with such transition areas. Make the cutouts with the jigsaw. A perfect connection: Here the horizontal profile boards under the pointed gable fit harmoniously against those of the sloping roof. Fastening the profile boards under the pointed floor collar beam will be an easy exercise for you: put together, attack, done!
So lights and sockets are installed
The recesses for the lights are sawn into the profile boards on the workbench, after their position has been determined. Use mold templates!
For built-in sockets, you can usually use one of the saw blades on your hole saw. Mount the covers in front of it, after everything is connected.
With the shadow joint saw you can ensure clean edges
The cutting depth of the saw is adjusted to the thickness of the profile boards (Section = sample).
A shadow gap from 12 mm you achieve, when the contact plate scans the adjacent wall.
Use a narrow brush to paint the strips of the substructure in the same tone.