 Hundred-year-old chest benches from the Vierlanden served as the inspiration for the design of this piece of furniture. Build it, and this bench is sure to become your family heirloom!
A piece of furniture, that deserves a place of honor. At least that's what the traditionalists thought, wealthy farmers, when they look at their chest banks, which were often provided with rich carvings, carpenters. We like it a little simpler today – which is also reflected in our design. Instead of ornamental carving we have, no less decorative, the current year is used as a decorative relief. So you don't have to reach for the carving knife, we recommend a more effective and contemporary method: copy milling with the router. You also need them to work out the decorative profiles and to round off cut edges. The rest of the power tools, that should be available to you, are table saws, jigsaw, drill and orbital sander. The hand tools, which they need, are fine saw, chisel, Store, hammer and plane, also a handful of clamps and two long straps for gluing. What you might already recognize from this list: Of course, you should also have some manual experience, so that you succeed in the chest bank well.
The building material, from which this piece of furniture is made: massive laminated wood panels in pine or spruce. Depending on your taste or budget.
The drawing shows, from which individual elements the chest bench is assembled. It starts with the solid glued wood sides, who carry the whole "in between".. Progress- and back of the bench consist of two frames with recessed cassette fields. That's what he rests on (not circumferential) Seat frame with movable flap. And on the turn is, with a slight tilt angle backwards, the frame of the backrest is attached, its upper, particularly wide frame bar is decorated with milled letters and numbers. All supporting parts are connected with wooden dowels and glue, the cassettes are held in place by ledges that are pinned into the frame. The base plate and the stool feet are underlaid with long spax screws. The wooden surface is sealed with a clear matt varnish.
Only when all the preparatory work is done, the cassettes are cut to size and pinned to the frame and the headboard of the bench is also marked with the year, you can start leasing.
Because there are probably not so many overly long clamps in any hobby workshop (the carpenter calls them servants) gives, as would be necessary for this task, we decided to use tension belts. You first attach the front and rear frames of the bench compartment to a bench side, put the seat frame on it – and above that the backrest. Then apply glue to the second side of the bench, onto the wooden dowels and then press everything together very firmly with three tension belts. Finished!
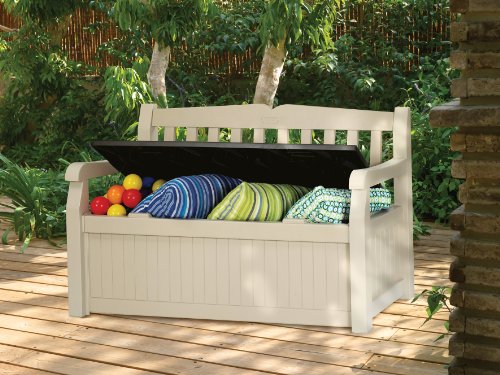
Die Bank sieht toll aus. Woher bekomme ich die Bauanleitung für “A chest bench for the ages”
Sieht wirklich klasse aus,
eigentlich ist es schade, dass viel einfach nur gekauft wird, auch wenn man einiges selbst machen könnte …
Ich glaube aber eher, dass ich auch in Zukunft so ein Möbelstück lieber kaufe, weil ich einfach zwei linke Hände. Eure gefällt mir aber wirklich sehr. Lob.
Best regards,
Franzi