 To delimit a terrace from the garden, a small wall offers many advantages. We show, that the fear of mortar and trowel is unfounded.
Secure, a clearly drawn border between the terrace and the garden is not always necessary.
But if the terrain is sloping, as in our case, it may well be useful. Masonry as a construction is then particularly far ahead, if the terrace area is to be paved later or another structure, like a conservatory, it's planned. Because only stones, Mortar and concrete provide the necessary stability for anchoring and attachments of all kinds.
Next comes the question: Facing masonry or facing, for example with natural stone slabs? Price and optics are decisive here: Frost-resistant bricks are more expensive, a large-scale veneer with natural stone slabs takes away the small parts of the building.
FOUNDATION
The design of the foundation largely determines the durability and stability of the wall.
The depth must be at least 70 to 80 cm, so that freezing water does not push up the entire structure in winter. Reinforcement is not absolutely necessary from a static point of view, it only prevents, that the crack widths in the concrete become too large. The concrete itself is a screed concrete, which you mix with water in the mixer. The consistency must not be too runny.
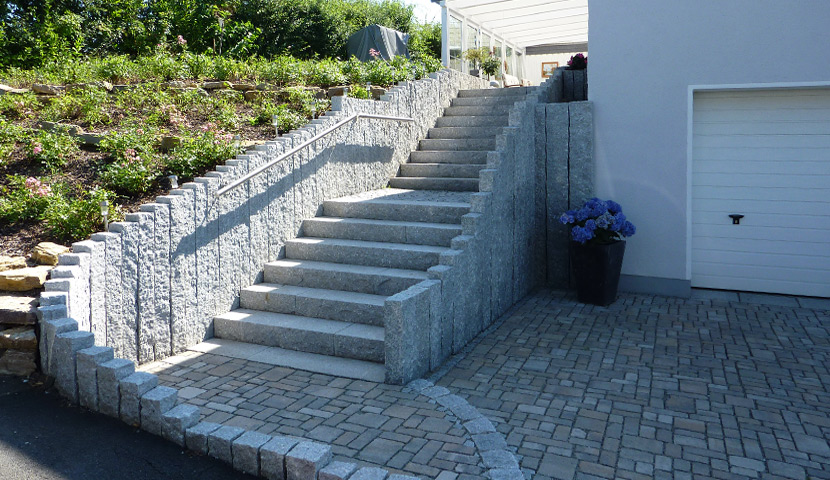
1 Do you want to create a staircase?, so you have to dig a strip foundation for the lateral boundary walls here as well.
2 Secure the edge of the foundation with continuous boards, which support you against each other.
3 Board remains sharpened on one side, which you drive into the ground behind the formwork, support additionally.
4 The gap in the foundation trench towards the future staircase can be filled with a suitable formwork panel from the building materials store.
5 You have to support this plate against the immense concrete pressure. Drive a squared timber into the ground directly behind the formwork panel and brace it to the rear.
6 Using a self-made chute, you let the mixed concrete flow into the foundation trench and distribute it there.
MOORS
Sand-lime bricks are the ideal building material for small garden walls: They are inexpensive, they are available everywhere, and they are easy to brick up. The only drawback: In the normal version, they are not frost-proof, That means, You have to protect them against penetrating moisture or use frost-proof KS facing bricks or the more expensive facing bricks. Calcium- Sandstones cannot be glued, they must be bricked up with mortar. The Small Formats (to 11,3 cm Steinhöhe) are particularly suitable for walls, that have many corners. They also have a practical grip hole. The price: A stone costs about 40 Cent.
1 Important! Before laying sand-lime bricks, be sure to water them thoroughly. Otherwise they will withdraw the water required for setting from the mortar, the adhesive power would be lost.
2 The stones must not form a cross joint at any point, so you have to wall them off by half a stone's length.
3 Each individual stone must be checked to ensure it is horizontal and aligned. A particularly small spirit level will help you.
4 It is optimal, if you also mortar the butt joints of the stones over the entire surface. That works best, when you put mortar on the face of the bricks.
BLINDING
The facing of the masonry with natural stone slabs has a technical as well as a visual reason: The plates protect the sand-lime bricks from penetrating water and thus from frost damage. In our case it is 3 cm thick sandstone slabs, which you can purchase from any stonemason or natural stone dealer. Gluing does not require any special knowledge. The most important thing is the regular watering of walls and slabs and compliance with a joint width of maximum 20 mm. A powerful cut-off grinder with a diamond cutting disc is recommended for cutting the panels to size.
1 Not just the records, You also have to water the masonry again and again when processing.
2 First, place the plates in a dry place, to set the laying pattern. The joints are held by wooden wedges.
3 Using a piece of chalk or a crayon, mark the top sections of the stones, that you carry out with a cut-off grinder.
4 The glue must be completely on the wet surface (!) stone to be distributed, before putting it on the also wet (!) Glue masonry.
5 You can also use the natural stone laying mortar, to close the joints after the adhesive has set. A trowel will help.